Reducing downtime expenses is a major priority for subsea cable operators. To maintain peak performance of your equipment, we provide a detailed 5-step plan for cable inspection and testing, along with expert advice and troubleshooting tips on when to consult professional help.
- Step 1: Conduct a Visual Inspection
- Step 2: Test Electrical Conductor Resistance
- Step 3: Test Insulation Resistance
- Step 4: Perform Fiber Optics Testing
- Step 5: Handle and Inspect Terminations
- General Handling Tips: Storage and Unpacking
- General Handling Tips: Reeling, Installation, and Deployment
- When is it time to contact DeRegt?
This blog will explore methods for visually inspecting your marine cables to ensure they function as intended.
Conducting a Visual Inspection
Numerous factors can lead to a cable leaking or failing when used at sea. Severe weather, electrical shorts, or even a shark bite can interfere with the ship's electrical and optical connections.
To ensure your equipment stays in optimal condition, cables should be routinely inspected throughout their lifespan as part of standard procedures. We suggest examining cables before significant operations, offshore transport, and storage. Additionally, maintaining a cable log that tracks usage hours, faults, maintenance, and inspections is advisable. In certain situations, photographs of the damage and diagnostic test results can provide the onshore field service engineer with sufficient information to guide the onboard crew in making repairs.

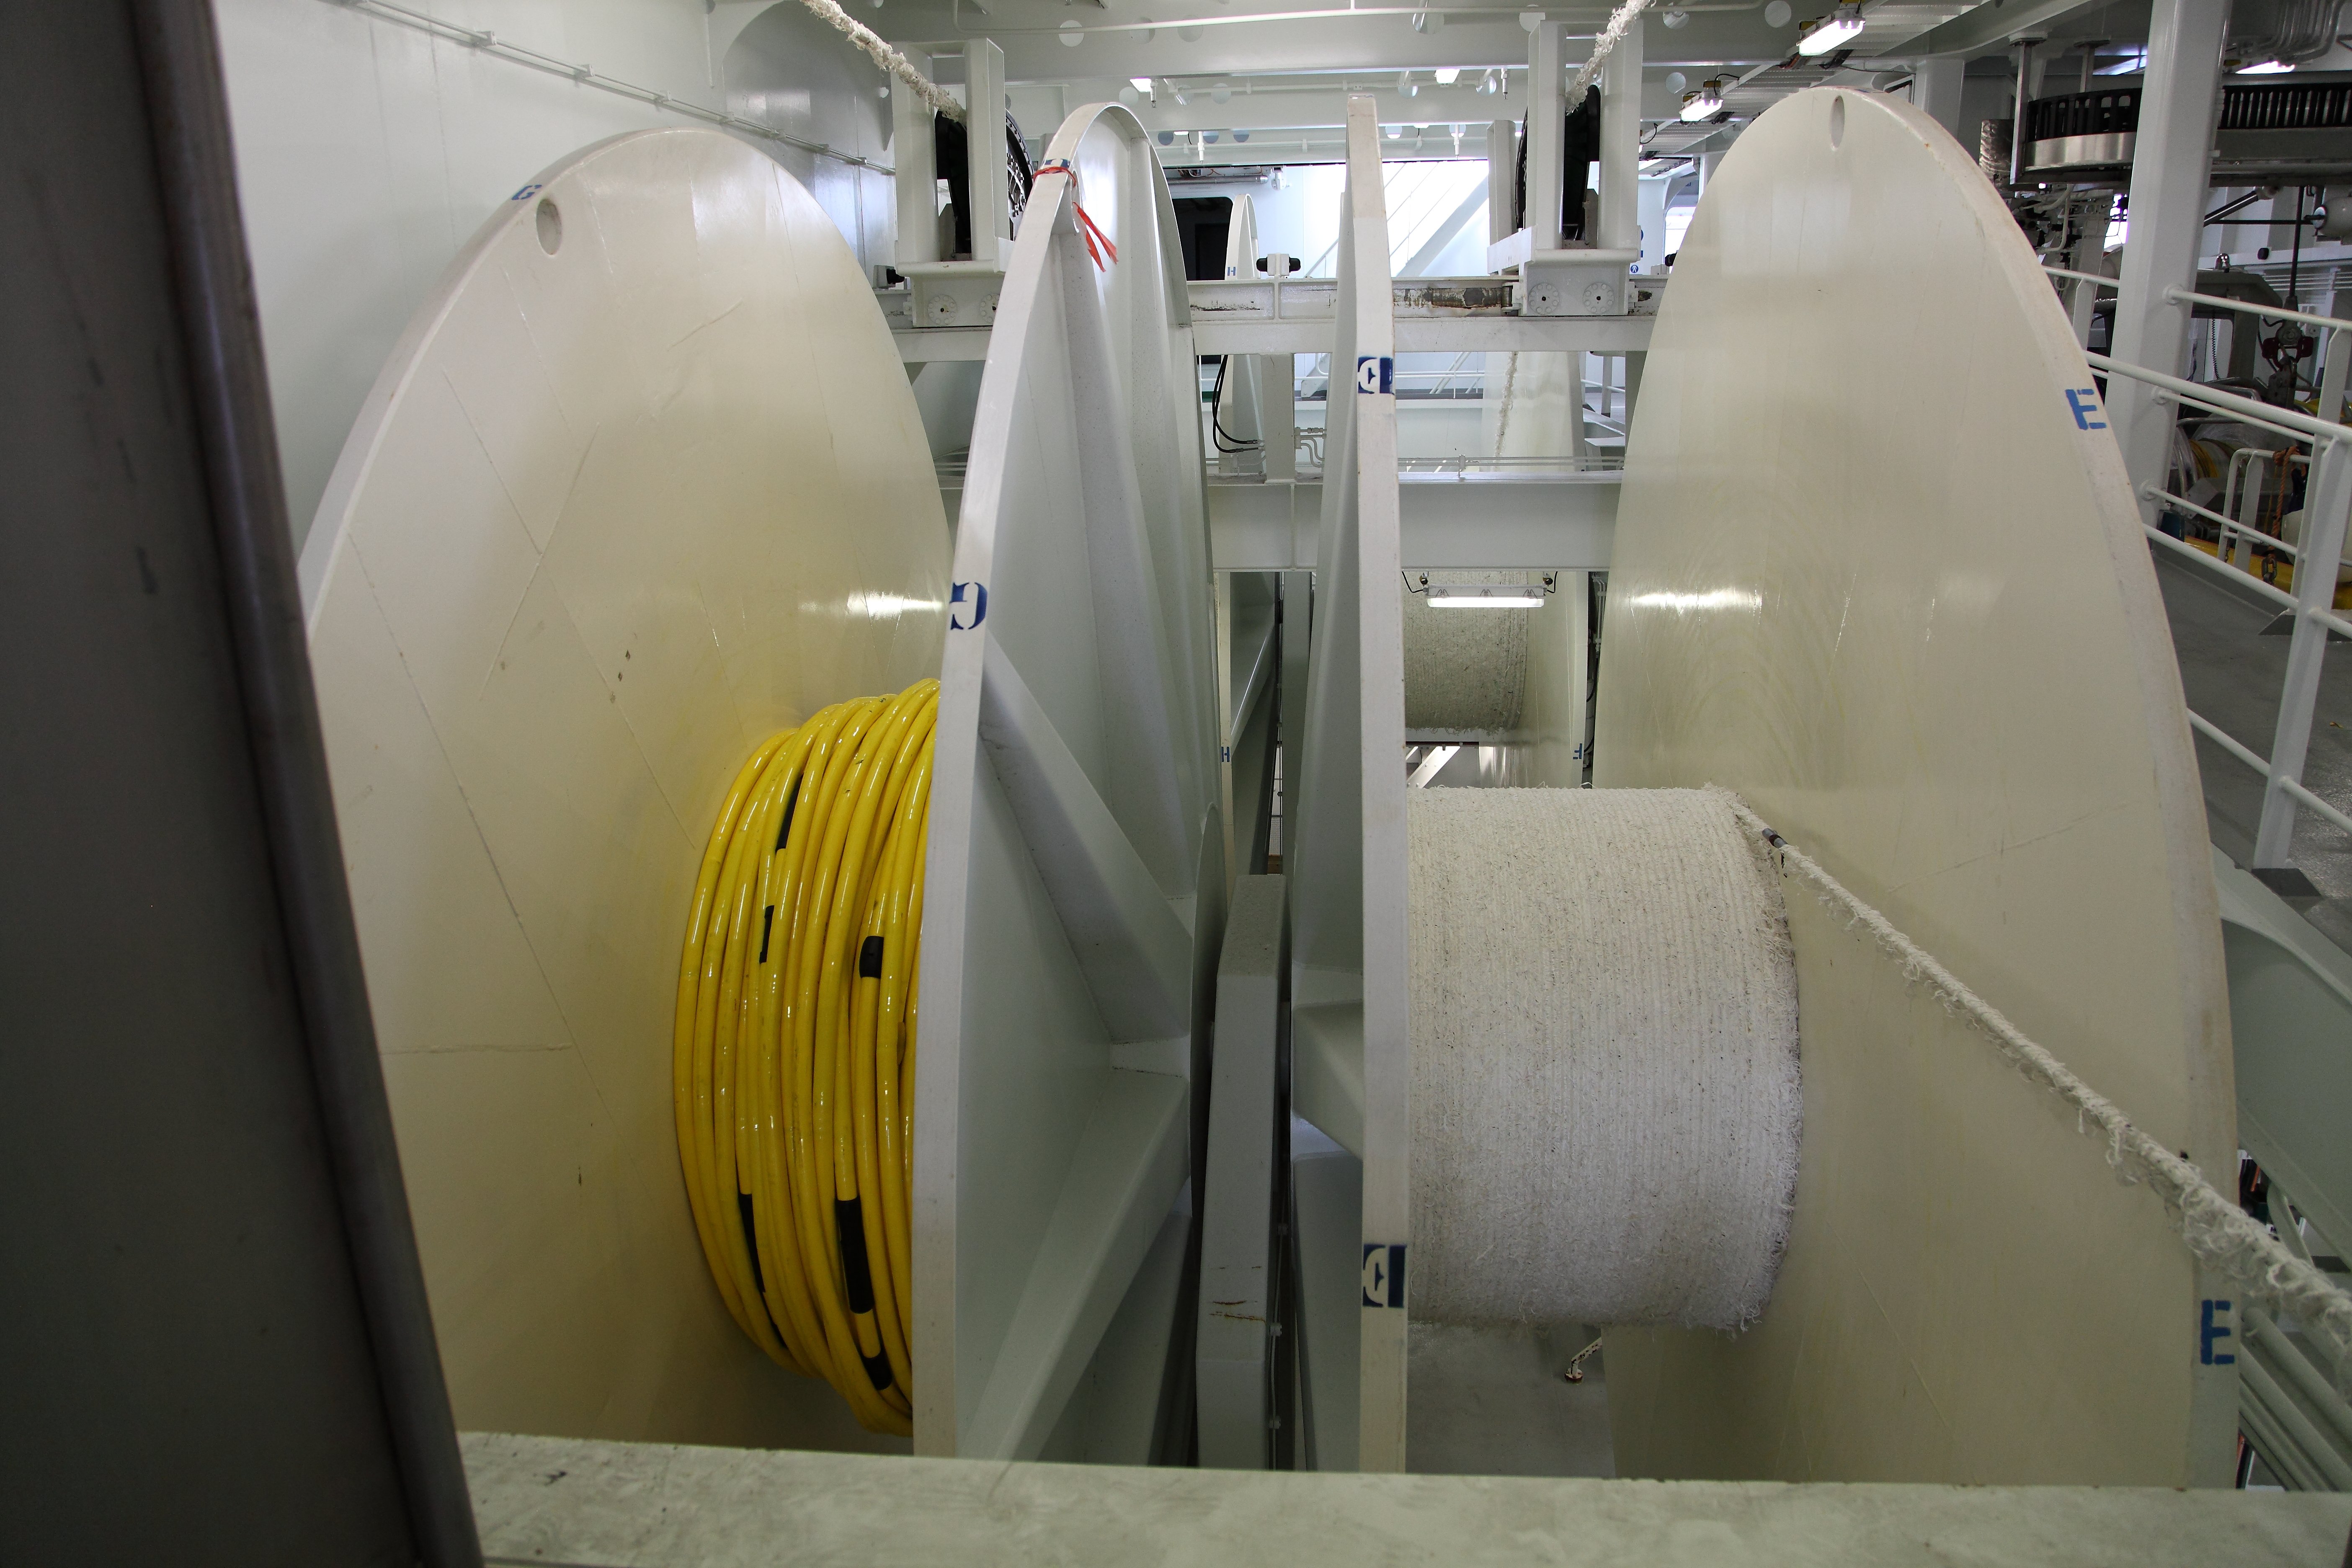
Conducting a visual inspection is essential for identifying both minor and major damage to cables or terminations. To thoroughly inspect the entire length of the cable, it should be completely reeled in or out. Each time a cable is spooled, deployed, or retrieved, the outer jacket must be carefully examined. This practice eliminates the need for additional inspections and ensures that any damage to the outer jacket is detected.
During a visual inspection, look for loose wires, kinks, and "birdcages" in the cable that require attention. If the cable is pulled too tightly, the loops will shrink until the cable bends at an angle too sharp to recover. Therefore, the cable should be kept straight from the shipping drum to the winch drum before beginning the winding process.
Bending a cable with an air hose to a small radius can cause the hose-liner to kink, creating a weak point that may fail under pressure. Damage to the hose braid can also form weak spots where the liner may burst when pressurized. Never use a damaged cable with an air hose, such as a source umbilical cable, as it could pose a life-threatening risk.
Identifying Cable Faults
During inspections, employ a reliable method to measure cable length, ensuring any detected damage is precisely documented. Cable length can be determined using equipment integrated into the winch or a mechanical clock and wheel placed on the cable.
External damage often signals the location of a cable leak. This is helpful since low isolation cannot be associated with TDR measurements. For digital cables, once the outer damage is identified, low isolation can be confirmed by assessing the fibers. Frequently, a digital cable with low isolation and external damage will exhibit a measurable event in fiber attenuation. When the event's calculated length matches the external damage, you can confidently identify the low isolation area.

To minimize unexpected downtime and reduce costs on new equipment for your marine operations, it's crucial to adhere to expert guidance on maintaining your current equipment. Collaborating with your supplier will help keep your equipment functional throughout its entire lifespan, ultimately saving you both time and money.
Quick Guide to Identifying Faults Faster
To provide more effective and quicker error detection tips, our cable specialists have developed a Seismic Guide on Cable Handling. Download it below and get your own companion for Visual Inspection:


